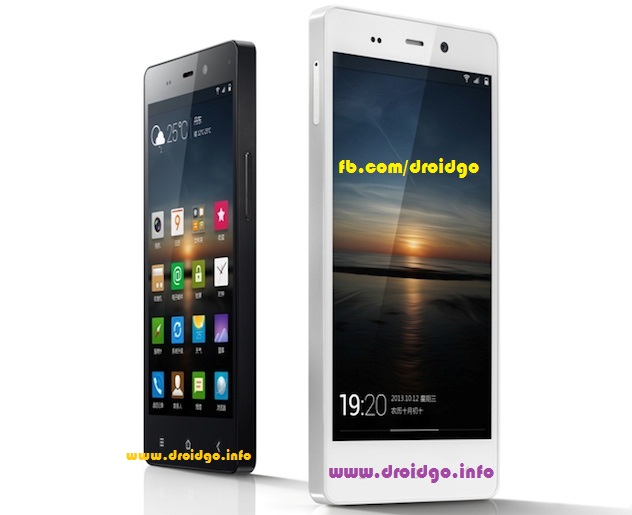


Walton is going to bring a new device to their Primo Series namely Primo X2 !

Primo X2, which features a unibody design, sports a 5-inch OGS(One-Glass-Solution) AMOLED display with a resolution of 1080x1920 pixels and pixel density of 441ppi. The phone is extremely thin at just 6.18mm, and weighs 128 grams.
The phone runs Android 4.2 with its own custom Amigo UI layer. The phone is powered by a 2020mAh battery.
Salient Features :
- 5-inch OGS(One-Glass-Solution) AMOLED display with a resolution of 1080x1920 pixels
- ARM Cortex-A7 quad-core processor with 1.5GHz CPU speed
- 2GB RAM
- 32GB internal storage
- 13-megapixel rear camera with 5-element lenses, BSI sensor and flash support, record full HD videos
- 5-megapixel front facing camera
- Android 4.2 Jelly Bean with Amigo UI
- Wi-Fi/GPS/Bluetooth 4.0/FM radio
- Non-removable 2020mAh Battery
- 3G

*** The Price and Releasing date is unknown yet.
3 comments
Posted at 12:42 AM | by
admin


![[ROM] JELLYBLAST V3.0.4 for Galaxy Y(GT-S5360) !!!](https://blogger.googleusercontent.com/img/b/R29vZ2xl/AVvXsEjqfOWDcX8OOkSYGHy3HuXOS2UdraGI6JRXEfBUlMICcRrKIdjnWGyP_hzhz54zCw0vFoSurCK1A0jR0XHZVWG-eM4ozgeSmOQyfb2GQJ7I-chC3hpZafSEH5TksweeQhX6bzm8VkiPSbw/s72-c/SC20120908-114434.png)


